Betty's Carving Blog

I hope you enjoy the blog for wood carving. You can visit sales at create space by following the links provided or visit our website for all our our how to videos.

Friday, December 31, 2010

Carving indoors

If you're ready to carve with that knew Christmas present a set of carving tools and the weather is really bad outside you can carve indoors. Carving indoors can create a problem with lighting, if you're getting older and carving indoors can create quite a mess. If you have a wooden floor, you can sweep the floor and there is no reason you cannot carve indoors and have an easy cleanup.
I do not use my big holding device on my large tool stand. I use a small worktable that I purchased on sale for $15. It folds up and is light weight and easy to maneuver. It's great for him carving, but I'm not sure I would use it with mallet tools.
Keep a broom and dust pan handy and you can contain most of your mess.

Saturday, December 18, 2010

Have you ever wanted to do relief carving but your drawing skills are something to be desired? there is a good trick for getting your wood to show your pattern without having to draw directly on the wood.
I simply draw a small picture of what I would like to do on a piece of paper, scan it to my computer and print on my laser printer. If you have good picture editing software, you can make a poster and change the size of your scanned piece of paper to fill whatever size piece of wood you have to carve.
You simply look at your print preview, adjust the size of the printing and send it to your laser printer. A medium or higher quality printing works well for transferring the photos to your wood. I cut out the drawing, tape it together place it on the wood and take a hot iron and iron the drawing directly onto the wood.

There are several things you should be careful about one is to be careful where you place the tape so that you do not run a hot iron and melt the tape and you want to have the print in position so that you do not move The drawing as you iron it onto the wood. If the word is bowed and has not been sanded You could have a problem with the transfer. But you can see from the picture below that my word is not a flat surface

you can see from this picture that the drawing has transferred and I have not had the problem of carving over many lines were I tried to correct the drawing as I drew.

Monday, December 6, 2010

Carving a Profile Wood Spirit

When I am using my cotton wood bark for carving my Wood Spirits I find that I have a lot of leftover pieces that are not fit for carving a full face. So if you learn to carve a profile or wood spirit. You can save a lot of the wood and make it useful.


You can see by the examples that it takes very little space to create a profile or three quarter face.
It is also a great way to learn how to carve if you mess up a piece of wood that would otherwise be useless. It's not such a big deal. When you learn to carve the face the nose and the mouth of the mustache you do not have to keep the face symmetrical because you only have one side. You use the same tools and have the same principles, but it's a great way to learn.


You can check out my links, and view my sales for How to Carve a Profile Wood Spirit plus you can also go on YouTube and see a short clip of the same.

https://www.createspace.com/254405
http://thehowtodoit.com/Carving.htm
http://www.youtube.com/watch?v=VqZMLZzraAI

Monday, November 29, 2010

Bent and Spoon Knives

The new knives have arrived and I gave them a go. They are wonderful. They cut so well that I have ordered a left cut of the pictured knife below and I also emailed and asked about smaller blades and they can custom order blades. I will now get to more blades that are about half the size of the listed blades on their site. They also were fast to respond to email.

I went down the edge of this carving(Alaska Yellow Cedar) in a flash. The handles are a good grip. I have a bit of arthritis and the grip is great and does not give me pain in my hands holding this handle. You have a choice of two blades. A bent or a spoon blade. The one above is the bent knife.
The cutting blade for this knife is a about 2 inches and the handle included is a little over 6.5 inches.

Ordering is easy with online payment but you need to decide if you want a left and right cut blade. If you pull the blade to you with your right hand or if you push with your left hand get a right cut blade and just the opposite for the left cut blade.

You can use the blade for regular cuts and use the tips for scooping. I used it here as an outline of my carving.

You can purchase these blades online at

http://www.deepwoodsventures.com/
click on the bent knife or spoon carver to see the knives. I also ordered a gift box to place the knives in to protect them since I do not have a regular cover for larger blades.

Great Christmas presents for the wood carver in your family.

Saturday, November 13, 2010

Local Carving Shows

Today I visited the local carving show. This is a great opportunity for a good look at carving tools and supplies. You can pick the brain of an experienced wood carver and sign up for a class. Some carving shows offer free classes to the public and you can try your had at carving to see how you like wood carving.

Most shows have vendors that on site that are local business where you can get supplies easily through out the year. Our local show has members on site where you can meet the carvers and sign up for membership.

When you enter the building you get a slip of paper to vote on the entered carvings that range from beginner to the professional. This is a great time to see new designs and speak with carvers who share your interest.

Monday, February 15, 2010

Safety when hand Carving

Common sense can save you from injuries.

When hand carving one must consider the fact that, the tools you're using are very sharp.

I once took a class where a young person slipped with the carving tool and had to have stitches. This could have been avoided if the student had had on a carving glove. In the same class, a person placed their carving across their leg and was fortunate enough to not have a severe problem from the cut they received on their leg.

Remember there are several things you can do to protect yourself. One of the most important things to remember when carving hand is to keep your tools sharp. If your tools are dull, you are more likely to slip and cut yourself. Learn to not aim the tools at yourself as you carve and never hold it over your leg as you carve. Place the carving a holding device or lay on the table.

I personally wear a leather apron that covers me from my chest to my thighs and I have purchased a carving glove that will protect me against most cuts. Some people prefer to wrap their fingertips as they work, but I feel that will leave a big unprotected area, if you're tool slips. As a beginner, you might want to consider to what extent you're going to take your carving experience and purchase a wood holding device. There are many devices available that will hold many weights and sizes of carving wood, and it may save you from a serious injury.


Since you are only wearing one carving glove place the tools so that your fingers on your unprotected hand will not strike a sharp tool as you pick them up from your work area. When carving if you drop a tool Never try to catch the tool as it falls even if it will run the test on a hard surface like the tool fall to the floor.

When teaching classes. I usually do not take students under the age of 16 unless their parents stay with them during the class. Children love to carve and do very well, but it is best to have extra supervision when working with kids in large groups.


Sunday, February 7, 2010

Hello today I will discuss using cotton wood bark for carving wood spirits.

I have carved many types of wood over the years and have found that I really prefer carving cotton wood bark when carving the wood spirit
If carving with cotton wood bark you should consider there are several types of cottonwood. I have found that plains cotton wood and black cottonwood has the best thickness for my carvings. You will be looking for a thick wide piece of bark.

You can purchase bark or search for your own by checking out online sales or local carving suppliers. If you collect the wood yourself, find a tree that is down and has been dead for a long period of time. You will want the bark dry, which is the best condition for carving.

When you purchase or find your own bark, you must wash the wood if it has dirt on the surface or in the cracks. If you do not wash and remove the dirt, you will dull or ruin your tools. Keep your bark outside and in a shaded dry area that is off the ground. Remember many bugs and spiders can come home with you if you are collecting the bark yourself.

You should check the bark from a side view to see if it has cracks. If it has cracks near the surface, you need to consider the placement of the carving in regards to the proximity of the crack. You can lose portions of your carving, usually the nose, when you have a hidden crack. I have glued many noses that have blown off when carving by placing a drop of glue under the nose and simply clamping the nose back into place. I wait for the glue to dry and start again.

Some of the cracks and crevices are a great addition to the carving. The bark simply talks to you when you pick up the bark and screams at you saying carve me. You can actually see the face you want to carve jumping from the bark. You can see where you want the beard to go and how the face should fade into the surface of the bark. Many of my carvings are on pieces of bark or wood that has a hole or knots that have been used to form the mouth.

I have found that the carving looks much better if I do not have bark that has been cut at ninety degrees across the top and bottom. I will twist, hit and stomp the bark to get the bark to break in a natural crevice. Using a hand planer on the back of the bark works well to make the bark rest flat on a wall. If planing on using the planer you should consider planing the bark before you have carved the Wood Spirit so as not to knock off part of the face as you plane the wood.
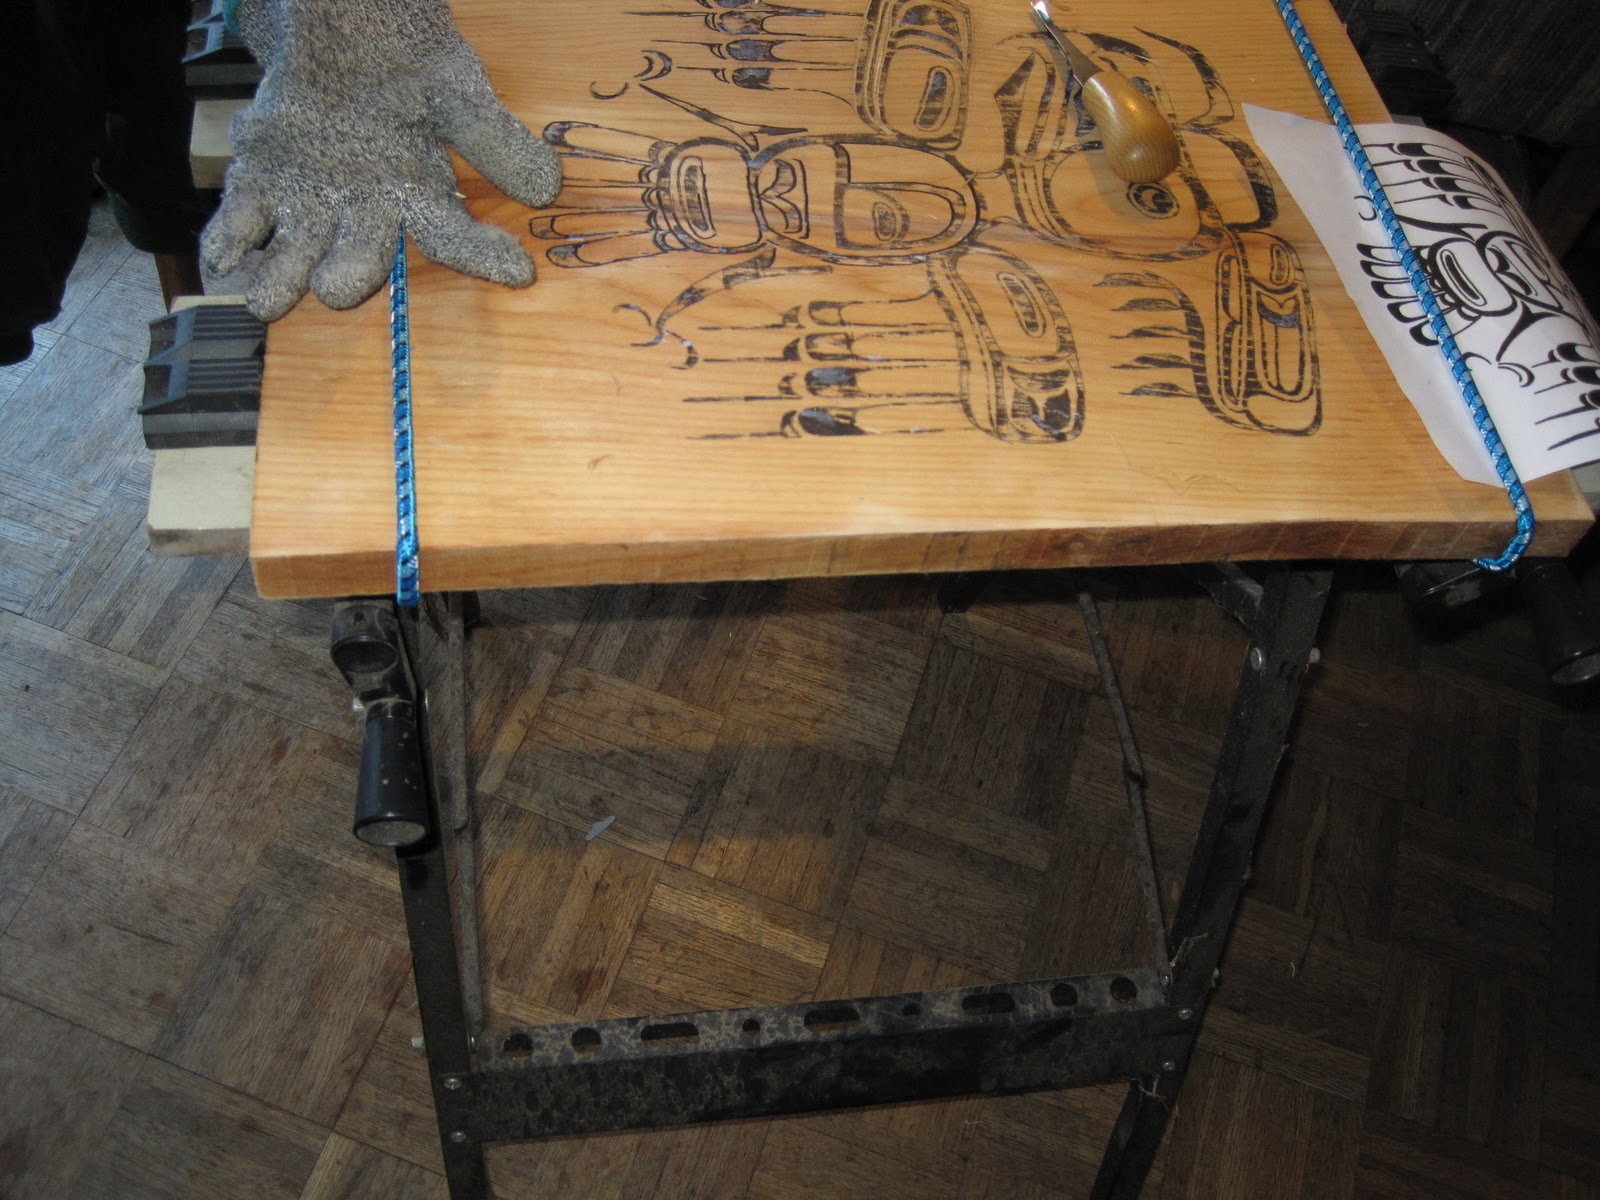
 Below is a picture of a piece of cotton wood bark being used to carve wood spirit.  This particular piece is being used for the profile wood spirit.